Guide · 6 min read
How to Bind a Printable Planner: 6 Easy Options
Binding a printable planner means holding the printed pages together so they open flat and last. The easiest way to bind a printable planner at home is a ring binder with a three-hole punch; disc binding lets you move pages, and a print shop can add coil or comb binding.
How to bind a printable planner at home or at a print shop: ring binder, disc, coil, comb, stapled booklet or clipboard, with the pros of each option.

Once your planner pages are printed, you need a way to keep them together. The right binding depends on how you use your planner: whether you add pages every month, carry it in a bag, keep it on a desk or want it to look like a finished book. This guide compares six popular binding options, from the simplest to the most polished, so you can choose the one that suits you.
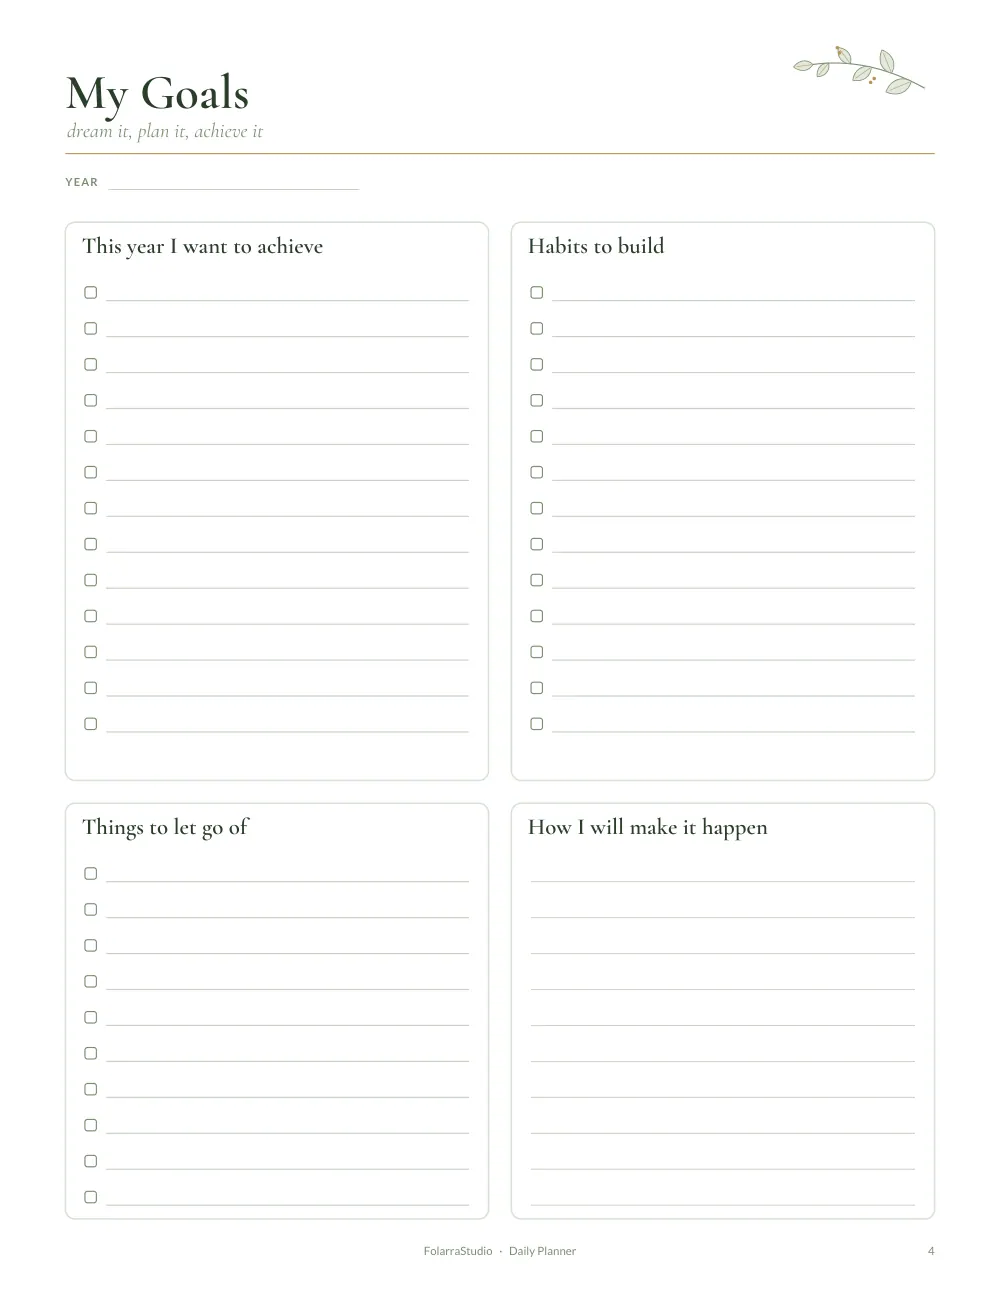
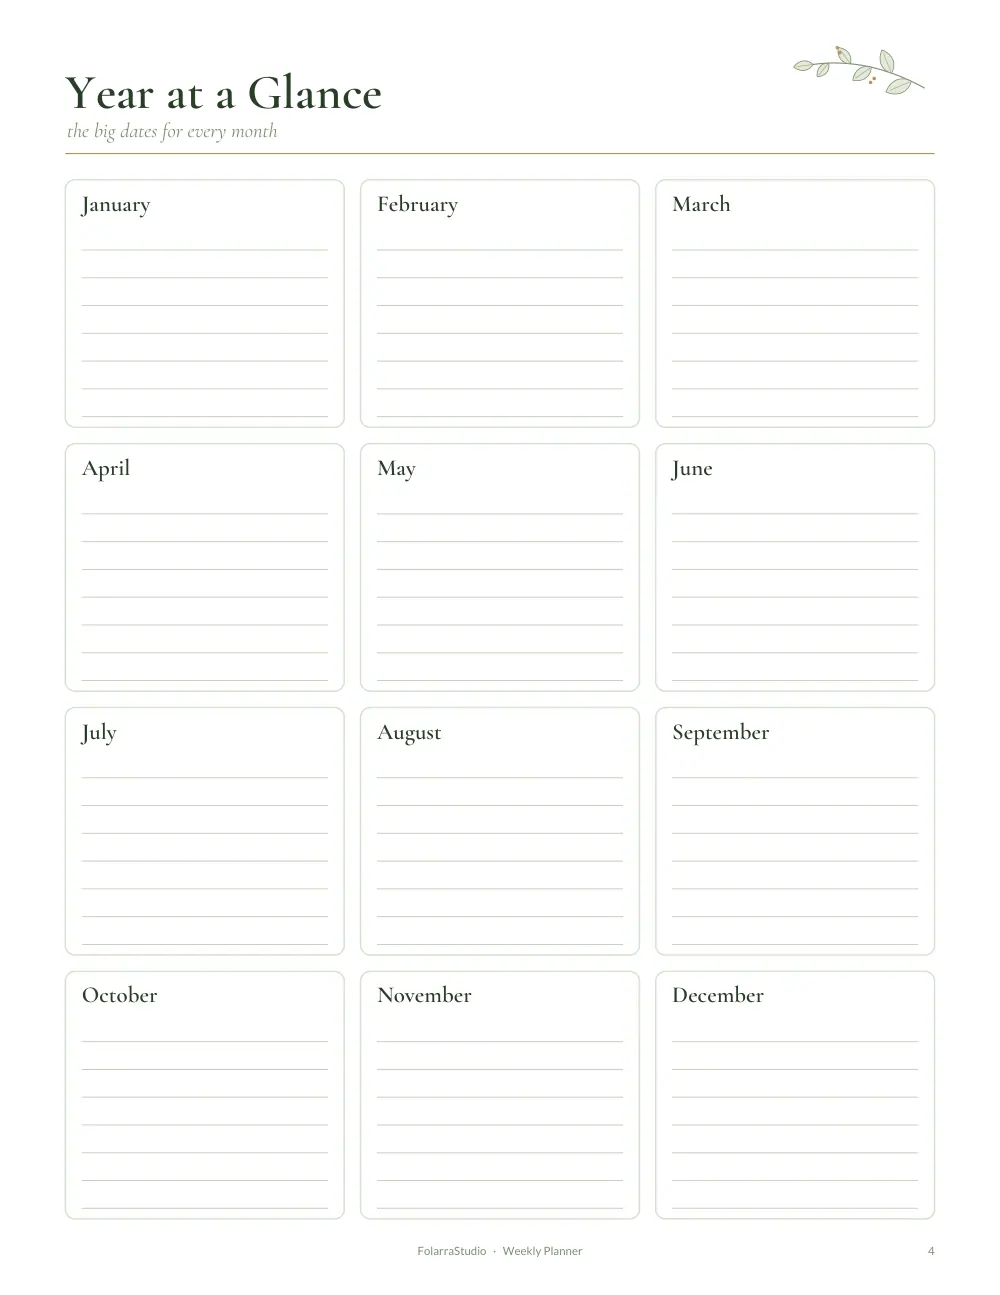

What should you do before you bind?
Decide which pages will go in your planner and in what order. A common order is cover, personal information, yearly overview, monthly pages, weekly or daily pages and reference pages such as contacts or notes at the back. Add tabbed dividers between sections if you want to find them quickly. If you are printing on both sides, check that pages face the right way before you bind. Our guide on how to print planner pages at home covers paper and printing settings.
1. Ring binder
A ring binder is the easiest and most flexible option. Punch holes in your pages with a two-hole, three-hole or four-hole punch, depending on your binder, and slip them in.
Best for: planners you add to constantly, such as a Teacher Planner, Homeschool Planner, Recipe Book or Household Binder.
Pros: easy to add, remove and rearrange pages; sheet protectors and pocket dividers fit easily; inexpensive and widely available.
Cons: bulky to carry; pages can tear at the holes over time. Reinforcement stickers around the holes help.
Choose D-ring binders for large page counts, as they hold pages more neatly than round rings.
2. Disc binding
Disc binding uses a special mushroom-shaped punch and a set of plastic or metal discs along the spine. Pages snap on and off the discs, and they lie completely flat or fold back on themselves.
Best for: daily and weekly planners where you add new months regularly, such as a Daily Planner or Weekly Planner.
Pros: pages can be moved and added easily; lies flat; looks neat and professional; covers can be swapped.
Cons: you need the special punch, which is an upfront cost; very large disc sizes can feel heavy.
If you love changing your planner each month, disc binding is often the favorite option.
3. What about coil or spiral binding?
Coil binding uses a plastic or metal spiral threaded through small holes along the edge. Many print and copy shops offer it for a small fee, and home coil machines are also available.
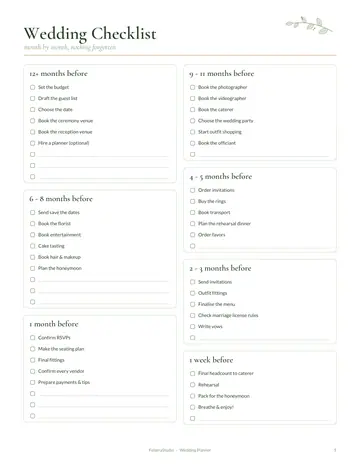
Best for: a full year planner that you print all at once and do not plan to change, or a finished Wedding Planner or Budget Planner.
Pros: lies flat and folds back completely; durable; looks like a store-bought planner.
Cons: pages cannot be added once bound; you need a machine or a print shop.
Add a sturdy card cover and a clear plastic front sheet to protect it.
4. When is comb binding best?
Comb binding is similar to coil binding, but uses a plastic comb with flat teeth that open and close with a special machine. It is common in offices and print shops.
Best for: workbooks, reference binders and planners that may need occasional changes.
Pros: affordable; pages can be added if you have the machine to reopen the comb; lies flat.
Cons: does not fold back as neatly as coil; combs can loosen with heavy use.
5. Stapled booklet
For small planners or single sections, simply staple the pages along the spine. If you print pages as a booklet, with two pages side by side on each sheet, you can fold the stack in half and staple along the fold with a long-reach stapler.
Best for: monthly inserts, small trackers, travel planners and kids' journals.
Pros: cheap and quick; light and easy to carry.
Cons: works only for small page counts; pages cannot be added.
6. Clipboard or folder
The simplest option of all is not binding pages at all. A clipboard keeps the current page visible, while a folder or pocket file keeps a small stack together.
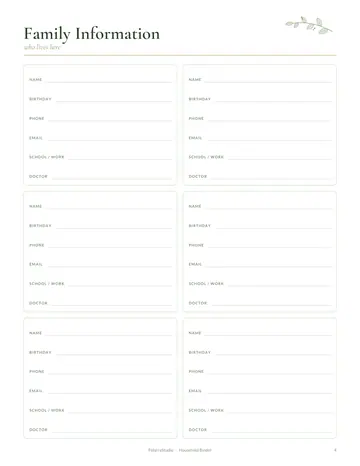
Best for: chore charts, meal plans, weekly to-do lists and anything that lives on a wall or the fridge, such as a Family Planner.
Pros: no tools needed; pages are easy to replace; perfect for single-page routines.
Cons: not suitable for large planners.
How do you add covers, tabs and finishing touches?
A few extras make your planner more durable and enjoyable to use:
- Card covers. Print the cover on light card stock, or add a clear plastic cover over it.
- Tabs. Use sticky tabs or tabbed dividers for each section.
- Pockets. Add a pocket folder page for receipts, cards and loose notes.
- Elastic band. An elastic closure keeps the planner shut in a bag.
- Laminated pages. Laminate reference pages such as contact lists, so they last all year.
How would you bind a recipe book and a weekly planner?
Different planners suit different bindings, and seeing two side by side makes the choice clearer. Here is how one person might bind two projects in the same afternoon.
Project one: a recipe book that grows
The Recipe Book will keep growing as new recipes are added, and the pages will be used in the kitchen, where spills happen. So it goes into a ring binder.
- Print the cover, the index pages and twenty recipe pages on 100 gsm (27 lb) paper.
- Slide each recipe page into a clear sheet protector so it can be wiped clean.
- Print the section dividers on card stock and punch them to match the binder.
- Add a slipcover to the binder's clear front pocket.
The result lies flat on the counter, and a new recipe can be added in seconds.
Project two: a weekly planner for the year
The Weekly Planner has a fixed number of pages and will be carried in a bag every day. Here, disc binding works well, because the pages turn fully back on themselves and can still be moved around later.
- Print fifty-two weekly spreads plus the yearly overview, double-sided on 90 gsm (24 lb) paper.
- Print a front and back cover on 250 gsm card stock.
- Punch every sheet with a disc punch, starting with a few test sheets to check alignment.
- Fit the discs, cover first, and press each page onto them.
What the example shows
Both projects used the same printer and paper sizes, but the bindings were chosen for how each book would be used. A book that changes often, gets messy or needs new pages suits rings. A book you carry and write in every day suits discs or coil. Ask yourself those two questions before you buy any binding supplies, and you will rarely choose wrong.
Which binding should you choose?
- If you add pages every month and keep the planner at home: ring binder.
- If you add pages regularly and want something neat to carry: disc binding.
- If you print a full year at once and want a polished look: coil binding.
- If you need a workbook or reference: comb binding.
- If it is small and simple: stapled booklet.
- If it is a single page you look at daily: clipboard or folder.
There is no wrong choice. Many people start with a simple binder, then try disc or coil binding once they know which pages they use most. Print your favorite planner, choose a binding, and enjoy a planner that feels truly yours.
How to bind a printable planner: your questions
What is the cheapest way to bind a planner?
The cheapest way to bind a planner is a ring binder and a standard three-hole punch, which many homes already have. A stapled booklet costs even less for short planners of up to about twenty pages. Both let you start right away, and a ring binder also lets you add refill pages later.
Can a print shop bind my printable planner?
Yes, most print and copy shops can bind a printable planner in a few minutes. Ask for coil (spiral) or comb binding with a clear plastic front cover and a card back cover. Bring the PDF on a USB stick or by email, and tell them the paper size so they print it at actual size.
What paper weight is best for a bound planner?
Paper of 90 to 120 gsm (24 to 32 lb) is best for a bound planner. It is sturdy enough to turn often and stops most pens from showing through. Use card stock of about 200 to 250 gsm for the front and back covers so the planner keeps its shape.
Can I add pages to a bound planner later?
You can add pages later to a ring binder or a disc-bound planner, because the pages come out and go back in easily. Coil, comb and stapled planners are fixed once bound, so print every page you need first. For a planner that grows, choose rings or discs.
Read next: How to Print Planner Pages at Home and A4 vs US Letter: Which Planner Size Should You Print?.
Sources and further reading